This article gives a short overview of how to create a Microsoft Windows Failover Cluster (WFC) with Windows Server 2019 or 2016. The result will be a two-node cluster with one shared disk and a cluster compute resource (computer object in Active Directory).
Preparation
It does not matter whether you use physical or virtual machines, just make sure your technology is suitable for Windows clusters. Before you start, make sure you meet the following prerequisites:
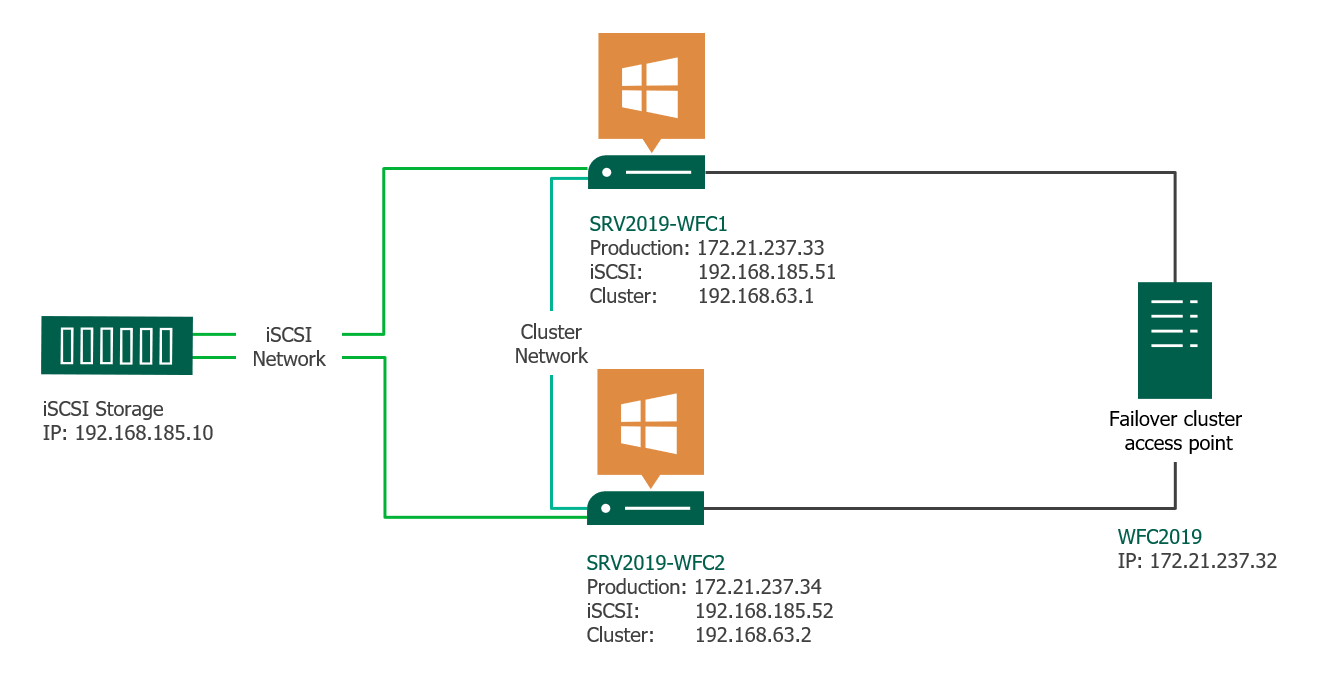
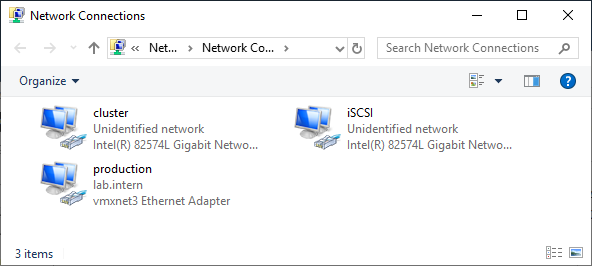
Two Windows 2019 machines with the latest updates installed. The machines have at least two network interfaces: one for production traffic, one for cluster traffic. In my example, there are three network interfaces (one additional for iSCSI traffic). I prefer static IP addresses, but you can also use DHCP.
Join both servers to your Microsoft Active Directory domain and make sure that both servers see the shared storage device available in disk management. Don’t bring the disk online yet.
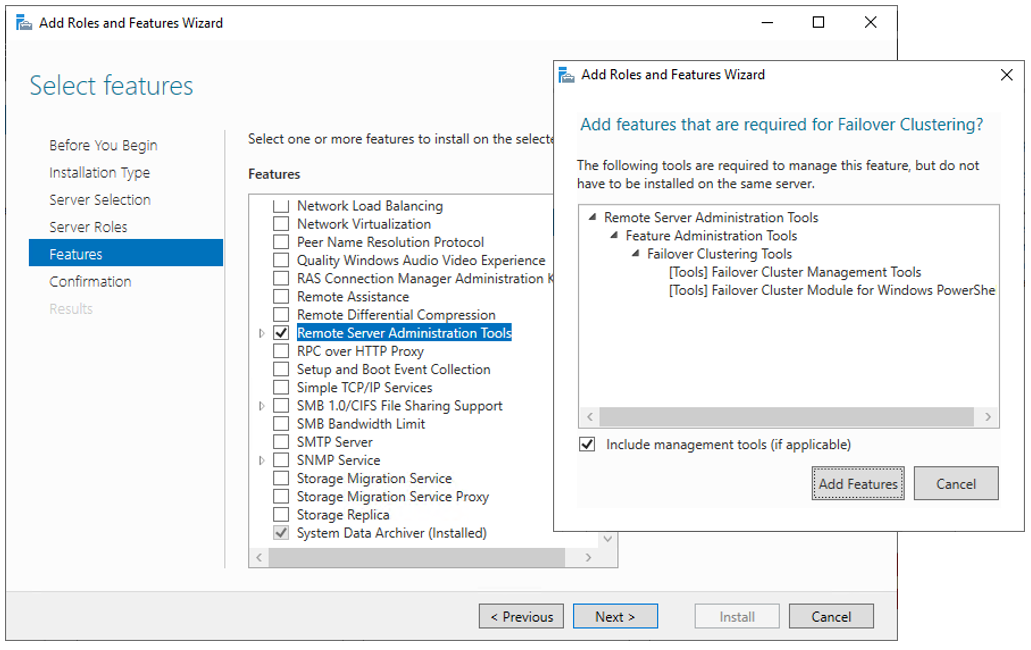
The next step before we can really start is to add the Failover clustering feature (Server Manager > add roles and features).
Reboot your server if required. As an alternative, you can also use the following PowerShell command:
Install-WindowsFeature -Name Failover-Clustering –IncludeManagementTools
After a successful installation, the Failover Cluster Manager appears in the start menu in the Windows Administrative Tools.
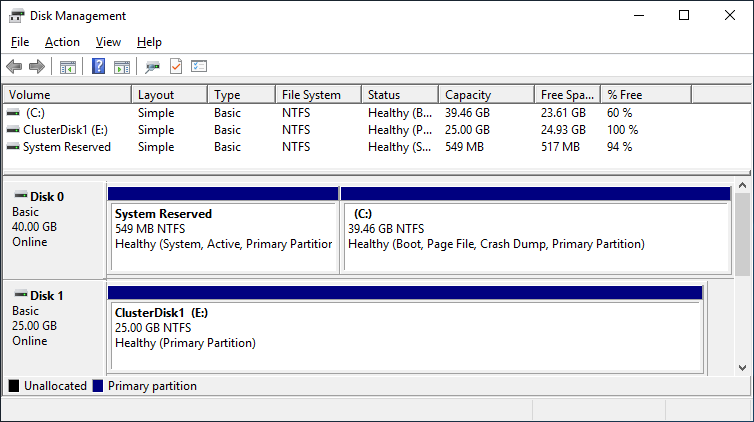
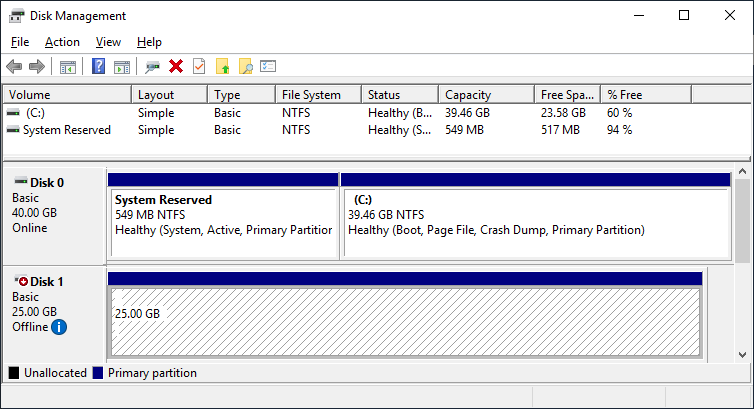
After you installed the Failover-Clustering feature, you can bring the shared disk online and format it on one of the servers. Don’t change anything on the second server. On the second server, the disk stays offline.
After a refresh of the disk management, you can see something similar to this:
Server 1 Disk Management (disk status online)
Server 2 Disk Management (disk status offline)
Failover Cluster readiness check
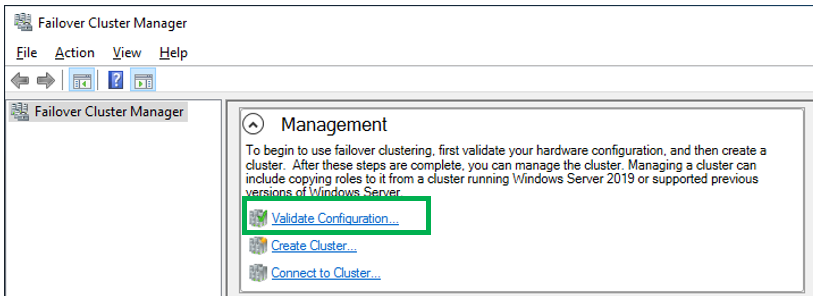
Before we create the cluster, we need to make sure that everything is set up properly. Start the Failover Cluster Manager from the start menu and scroll down to the management section and click Validate Configuration.
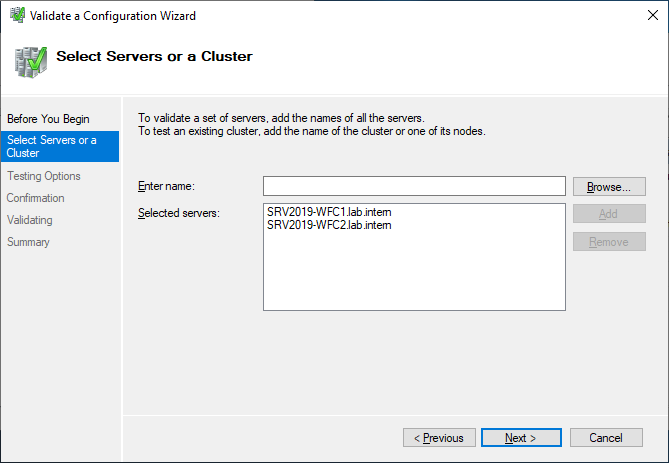
Select the two servers for validation.
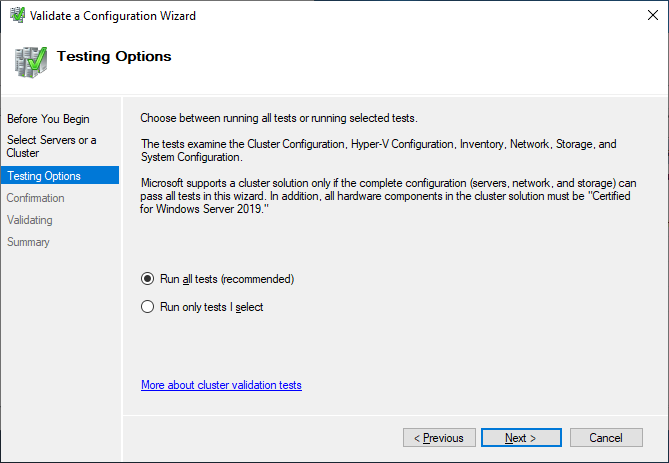
Run all tests. There is also a description of which solutions Microsoft supports.
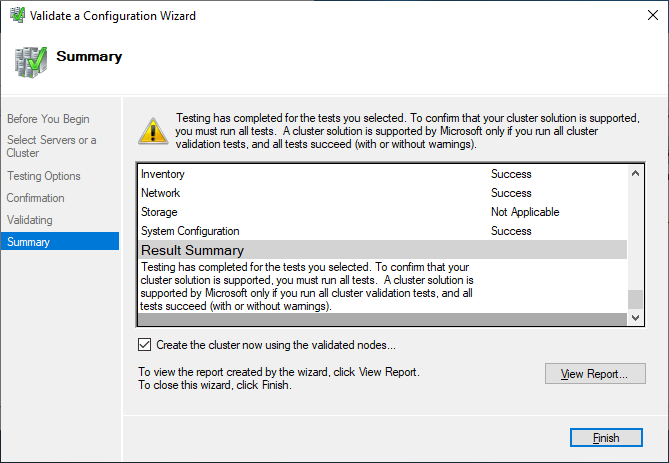
After you made sure that every applicable test passed with the status “successful,” you can create the cluster by using the checkbox Create the cluster now using the validated nodes, or you can do that later. If you have errors or warnings, you can use the detailed report by clicking on View Report.
Create the failover cluster
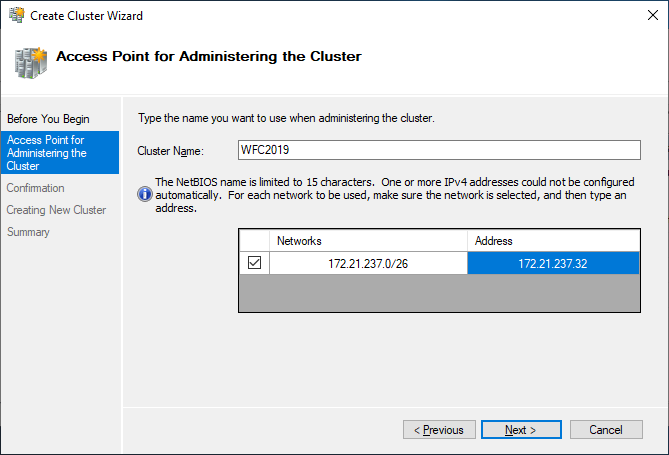
If you choose to create the cluster by clicking on Create Cluster in the Failover Cluster Manager, you will be prompted again to select the cluster nodes. If you use the Create the cluster now using the validated nodes checkbox from the cluster validation wizard, then you will skip that step. The next relevant step is to create the Access Point for Administering the Cluster. This will be the virtual object that clients will communicate with later. It is a computer object in Active Directory.
The wizard asks for the Cluster Name and IP address configuration.
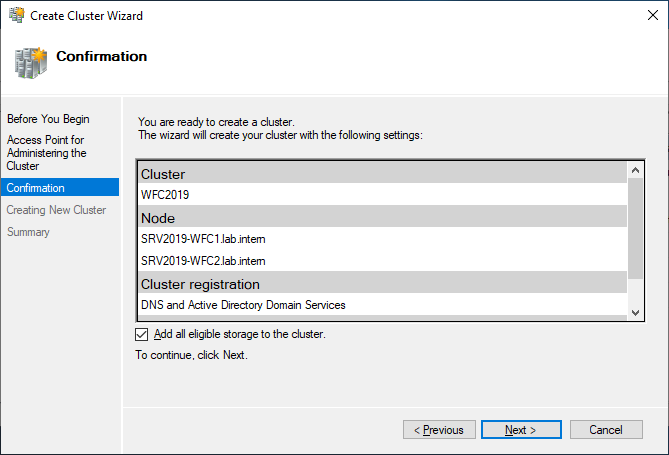
As a last step, confirm everything and wait for the cluster to be created.
The wizard will add the shared disk automatically to the cluster per default. If you did not configure it yet, then it is also possible afterwards.
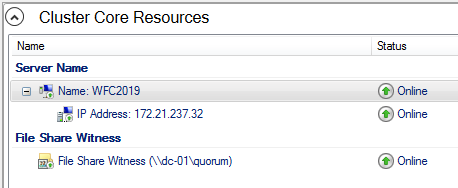
As a result, you can see a new Active Directory computer object named WFC2019.
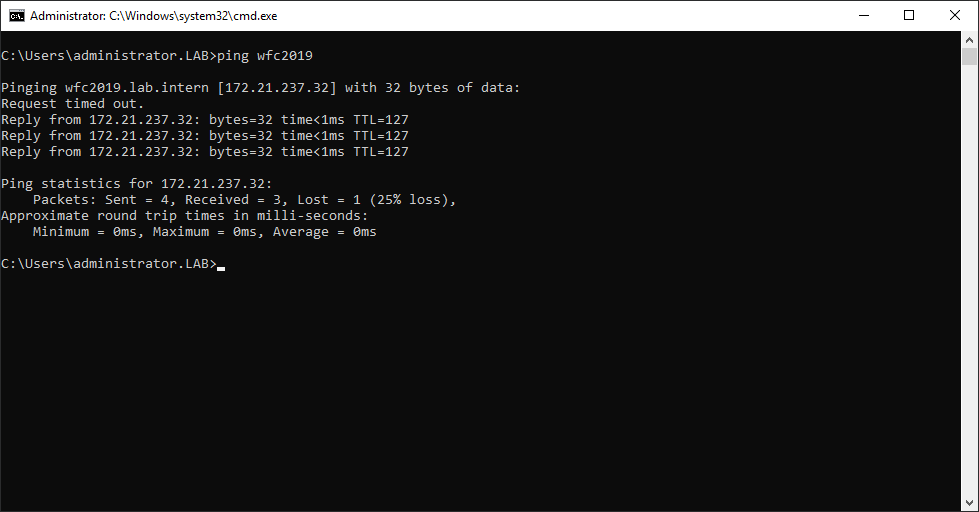
You can ping the new computer to check whether it is online (if you allow ping on the Windows firewall).
As an alternative, you can create the cluster also with PowerShell. The following command will also add all eligible storage automatically:
New-Cluster -Name WFC2019 -Node SRV2019-WFC1, SRV2019-WFC2 -StaticAddress 172.21.237.32
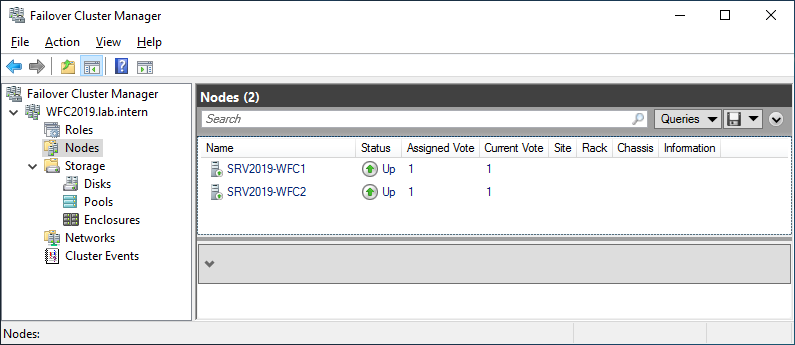
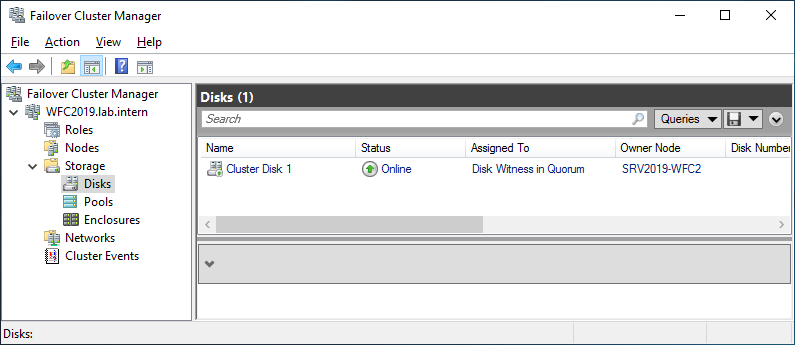
You can see the result in the Failover Cluster Manager in the Nodes and Storage > Disks sections.
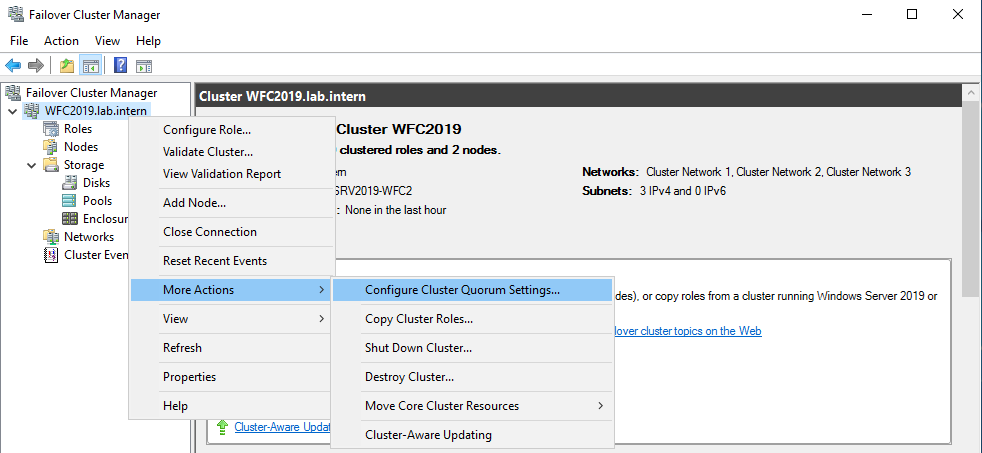
The picture shows that the disk is currently used as a quorum. As we want to use that disk for data, we need to configure the quorum manually. From the cluster context menu, choose More Actions > Configure Cluster Quorum Settings.
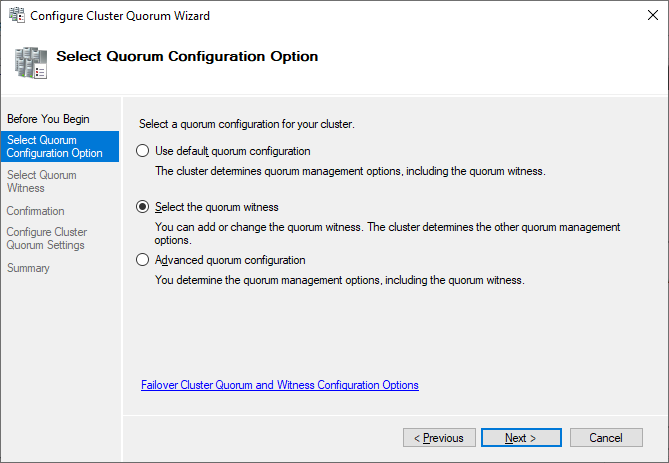
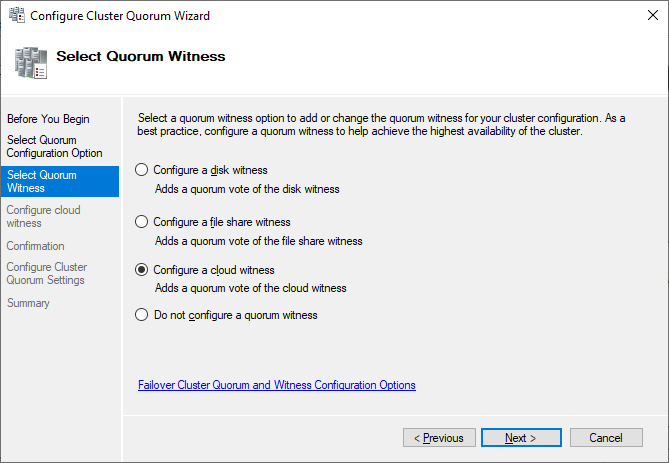
Here, we want to select the quorum witness manually.
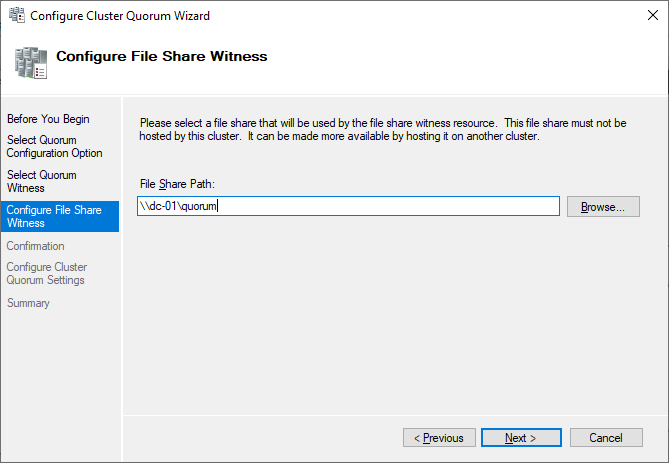
Currently, the cluster is using the disk configured earlier as a disk witness. Alternative options are the file share witness or an Azure storage account as witness. We will use the file share witness in this example. There is a step-by-step how-to on the Microsoft website for the cloud witness. I always recommend configuring a quorum witness for proper operations. So, the last option is not really an option for production.
Just point to the path and finish the wizard.
After that, the shared disk is available for use for data.
Congratulations, you have set up a Microsoft failover cluster with one shared disk.
Next steps and backup
One of the next steps would be to add a role to the cluster, which is out of scope of this article. As soon as the cluster contains data, it is also time to think about backing up the cluster. Veeam Agent for Microsoft Windows can back up Windows failover clusters with shared disks. We also recommend doing backups of the “entire system” of the cluster. This also backs up the operating systems of the cluster members. This helps to speed up restore of a failed cluster node, as you don’t need to search for drivers, etc. in case of a restore.
See More:
- On-Demand Sessions from VeeamON Virtual

